How to Deploy a Website for Free (2026) – Step-by-Step Guide
Deploying a website for free has never been easier. Whether you’re a beginner learning web development, a freelancer showcasing a portfolio, or someone testing small web projects, free deployment platforms allow you to host your website without spending a single dollar.
In this guide, you’ll learn how to deploy a website for free, step by step. We’ll cover static and dynamic websites, explore free hosting platforms, and provide examples and screenshots to make the process simple and actionable. Try deploying projects from MERN stack project ideas.
Introduction
When we talk about “deploying a website,” we mean making it live on the internet, accessible to anyone. Traditionally, web hosting required paid servers and domain names, but today, many platforms allow you to host websites for free.
Why deploy for free?
- Learn and experiment: Great for beginners, testing web development skills
- Portfolios & demos: Showcase projects to employers or clients
- Small projects & MVPs: Launch a minimal viable product without cost
Free hosting platforms usually have limitations such as storage, bandwidth, and custom domain support, but they are perfect for learning and small projects.
We’ll cover platforms for static websites (HTML, CSS, JS) and dynamic websites (Node.js, Python, full-stack apps).
Understanding Free Website Deployment Options
Static Website Deployment
A static website consists of HTML, CSS, and JavaScript files. Static sites are ideal for portfolios, blogs, or demo projects. They are lightweight, fast, and easy to deploy.
Free platforms for static websites:
- GitHub Pages
- Netlify
- Vercel
Advantages:
- Simple setup
- Fast performance
- Free HTTPS support
Dynamic Website Deployment
A dynamic website interacts with a database or has backend logic, like Node.js apps, Python Flask apps, or full-stack MERN applications.
Free platforms for dynamic websites:
- Heroku
- Render
- Railway
Limitations:
- Limited server uptime
- Limited database storage
- Restrictions on background tasks or cron jobs
Step-by-Step Guide to Deploying a Website for Free
Here’s how to deploy both static and dynamic websites for free.
Option 1 – Deploy Using GitHub Pages (Static Websites)
Requirements: GitHub account, repository with website files
Step 1: Create a Repository
- Log in to GitHub
- Click New Repository
- Name it appropriately (e.g., my-website)
- Initialize with a README
Step 2: Push Website Files
- Upload your HTML, CSS, and JS files to the repository
- Or use Git commands:
git init
git add.
git commit -m “Initial commit”.
git branch -M main
git remote add origin <repository-url>
git push -u origin main
Step 3: Enable GitHub Pages
- Go to Settings → Pages
- Under Source, select main branch → /root
- Click Save
Step 4: Access Your Website
- GitHub will provide a URL like: “https://username.github.io/my-website”
Pros: Free, fast, automatic HTTPS
Cons: Only static sites, limited storage
Option 2 – Deploy Using Netlify (Static & JAMstack Sites)
Requirements: Netlify account, Git repository, or ZIP files
Step 1: Sign Up for Netlify
- Connect using GitHub, GitLab, or Bitbucket
Step 2: Link Repository or Drag-and-Drop Files
- Select repository
- Configure build command (for static sites: leave blank)
- Choose publish directory (e.g., dist or /)
Step 3: Configure Domain
- Netlify provides a free subdomain, like:
my-website. netlify.app
Step 4: Deploy Site
- Click Deploy Site
- Preview the live site instantly
Pros: Continuous deployment, automatic HTTPS, easy UI
Cons: Free tier has bandwidth limits

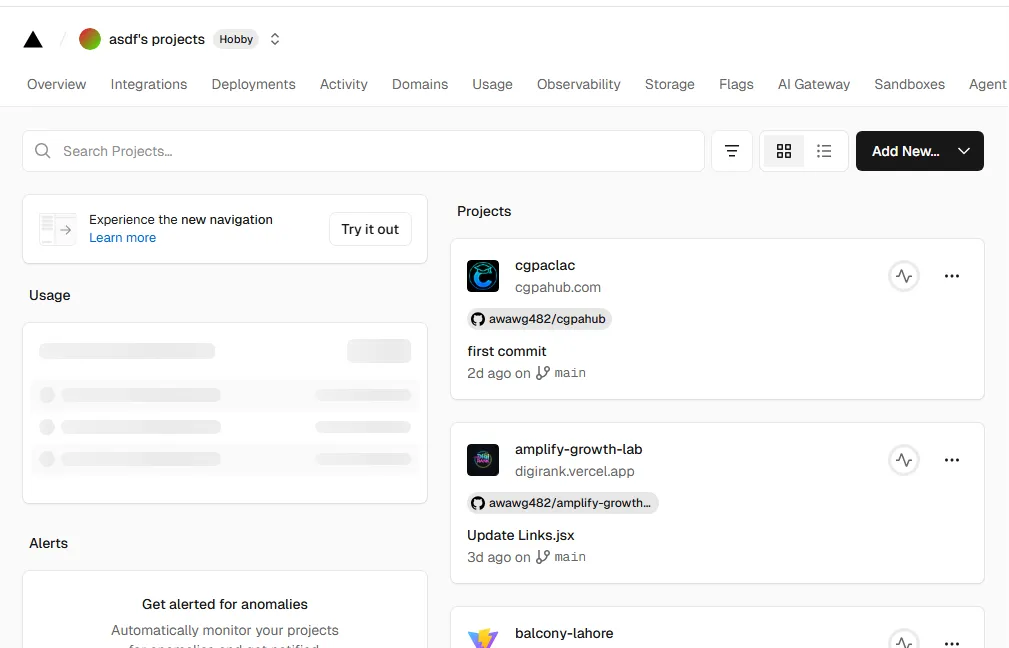
Option 3 – Deploy Using Vercel (React, Next.js, Frontend Projects)
Requirements: Vercel account, project repository
Step 1: Sign Up for Vercel
- Connect your Git repository
Step 2: Import Repository
- Choose framework (Next.js, React, etc.)
- Configure build and output settings
Step 3: Deploy Website
- Vercel provides a URL like:
my-app. vercel.app
Step 4: Continuous Deployment
- Any code push to Git updates your live website automatically
Pros: Excellent for React/Next.js, free HTTPS, auto-deploy
Cons: Backend support is limited to serverless functions
Option 4 – Deploy Using Heroku (Dynamic Websites)
Requirements: Heroku account, Heroku CLI, Node.js, or Python project
Step 1: Install Heroku CLI
- Download and install:
Step 2: Log in to Heroku
heroku login
Step 3: Create New App
heroku create my-app
Step 4: Push Code
git push heroku main
Step 5: Open Live Website
heroku open
Screenshot Suggestion: Heroku CLI terminal showing deployment log
Pros: Supports backend apps, free SSL, server-side logic
Cons: Dyno sleeps after 30 minutes of inactivity, limited resources
Option 5 – Deploy Dynamic Websites for Free Using Render or Railway
- Both platforms allow full-stack or backend apps
- Steps: Sign up → Link repository → Configure build → Deploy
- Free tier includes small server resources for testing or demo apps
Screenshot Suggestion: Render dashboard showing build logs and live URL
Adding a Custom Domain to Free Hosting
Even on free hosting, you can add a custom domain.
Step 1: Purchase or get a free domain
- Freenom provides free domains like .tk, .ml, and .ga
Step 2: Configure DNS Records
- GitHub Pages: CNAME record pointing to repository URL
- Netlify: Add domain → Configure DNS (CNAME or A record)
- Vercel: Add domain → Verify ownership
Step 3: Enable HTTPS
- Platforms provide free SSL certificates automatically
Screenshot Suggestion: DNS settings with CNAME pointing to Netlify
Optimizing Your Free Website Deployment
- Enable HTTPS – Most free platforms offer automatic SSL
- Optimize Performance – Compress images, minify JS/CSS
- Continuous Deployment – Link the Git repository to auto-deploy on updates
- SEO Basics – Add meta tags, descriptive page titles, sitemap
Common Errors and Fixes
| Error | Cause | Solution |
| 404 Not Found | Wrong folder structure | Ensure index.html is in root directory |
| Deployment Fails | Build errors | Check build logs and dependencies |
| Domain Not Working | DNS misconfigured | Verify CNAME/A record settings |
| Free Tier Limit Exceeded | High traffic or storage | Upgrade or optimize files |
Best Practices for Free Website Deployment
- Start small to stay within free tier limits
- Keep your Git repository clean and organized
- Use version control for continuous deployment
- Monitor performance and uptime
- Upgrade to paid hosting as your traffic grows
Conclusion
Deploying a website for free is simple, beginner-friendly, and practical. Whether you’re showcasing a portfolio, testing web projects, or learning web development, free deployment platforms like GitHub Pages, Netlify, Vercel, and Heroku make it possible without spending a penny.Automate deployments using the best automation tools for developers.
Key Takeaways:
- Choose static hosting for HTML/CSS/JS projects
- Use dynamic hosting for Node.js or Python apps
- Link a custom domain for a professional look
- Monitor free-tier limits and upgrade when necessary
By following this guide, you can deploy websites quickly, safely, and for free, making your learning journey or project launch smooth and professional.


